
Spray foam insulation is one of the most effective ways to enhance the energy efficiency of your home or business. Its superior air-sealing and insulating properties can significantly reduce energy bills, improve indoor comfort, and even boost the resale value of your property. However, if you’re considering spray foam insulation for the first time, you might be wondering what the installation process entails.
Understanding what to expect during the installation can help you prepare adequately and ensure a smooth experience. This guide will walk you through the entire process, from the initial assessment to post-installation cleanup, giving you a clear picture of how spray foam insulation is applied and what you need to do to get ready.
What is Spray Foam Insulation?
Before diving into the installation process, it’s important to understand what spray foam insulation is and why it’s a popular choice for modern insulation needs.
Spray foam insulation is a polyurethane-based material that expands upon application. It is sprayed as a liquid into walls, ceilings, and floors, where it quickly expands to fill gaps, cracks, and voids. This expansion forms a tight seal that prevents air leaks, improves energy efficiency, and provides excellent thermal insulation.
There are two main types of spray foam insulation:
- Open-cell foam: A lighter, less dense foam that offers good thermal insulation and soundproofing but is more permeable to moisture.
- Closed-cell foam: A denser, more rigid foam that provides superior insulation, moisture resistance, and structural reinforcement.
The choice between open-cell and closed-cell foam depends on your specific insulation needs, the climate, and the area being insulated.
The Spray Foam Insulation Installation Process
The installation of spray foam insulation is a multi-step process that requires careful planning and execution. Here’s what you can expect at each stage:
1. Initial Consultation and Site Assessment
The first step in the process is an initial consultation with a spray foam insulation contractor. During this stage, the contractor will discuss your insulation needs, inspect your property, and provide a recommendation on the type of spray foam that would be most effective.
What to Expect:
- Site Inspection: The contractor will examine the areas to be insulated, such as attics, walls, crawl spaces, or basements. This inspection helps identify any specific issues like moisture problems, existing insulation, or structural concerns that need to be addressed.
- Assessment of Needs: The contractor will discuss your goals, such as improving energy efficiency, reducing noise, or increasing structural integrity. They may also ask about your budget and timeline.
- Recommendation: Based on the inspection and your needs, the contractor will recommend the type and amount of spray foam insulation required. They will also provide a cost estimate and a timeline for the project.
This stage is crucial for setting expectations and ensuring that the contractor fully understands your requirements.
2. Preparation of the Installation Area
Proper preparation is essential for a successful spray foam insulation installation. This stage involves making the installation area ready for the foam application.
What to Expect:
- Clearing the Area: Any obstructions, such as furniture, boxes, or debris, need to be removed from the area to ensure clear access for the installation team. In some cases, this may also involve temporarily removing existing insulation.
- Protecting Surfaces: The installation team will cover floors, windows, and other surfaces to protect them from overspray. This often includes taping plastic sheeting or using other protective materials.
- Ensuring Ventilation: Spray foam insulation generates fumes that can be harmful if inhaled in large quantities. The contractor will ensure that the area is well-ventilated during the installation process, and they may recommend that you vacate the premises during application.
Preparing the area is vital for both the safety of the occupants and the quality of the installation.
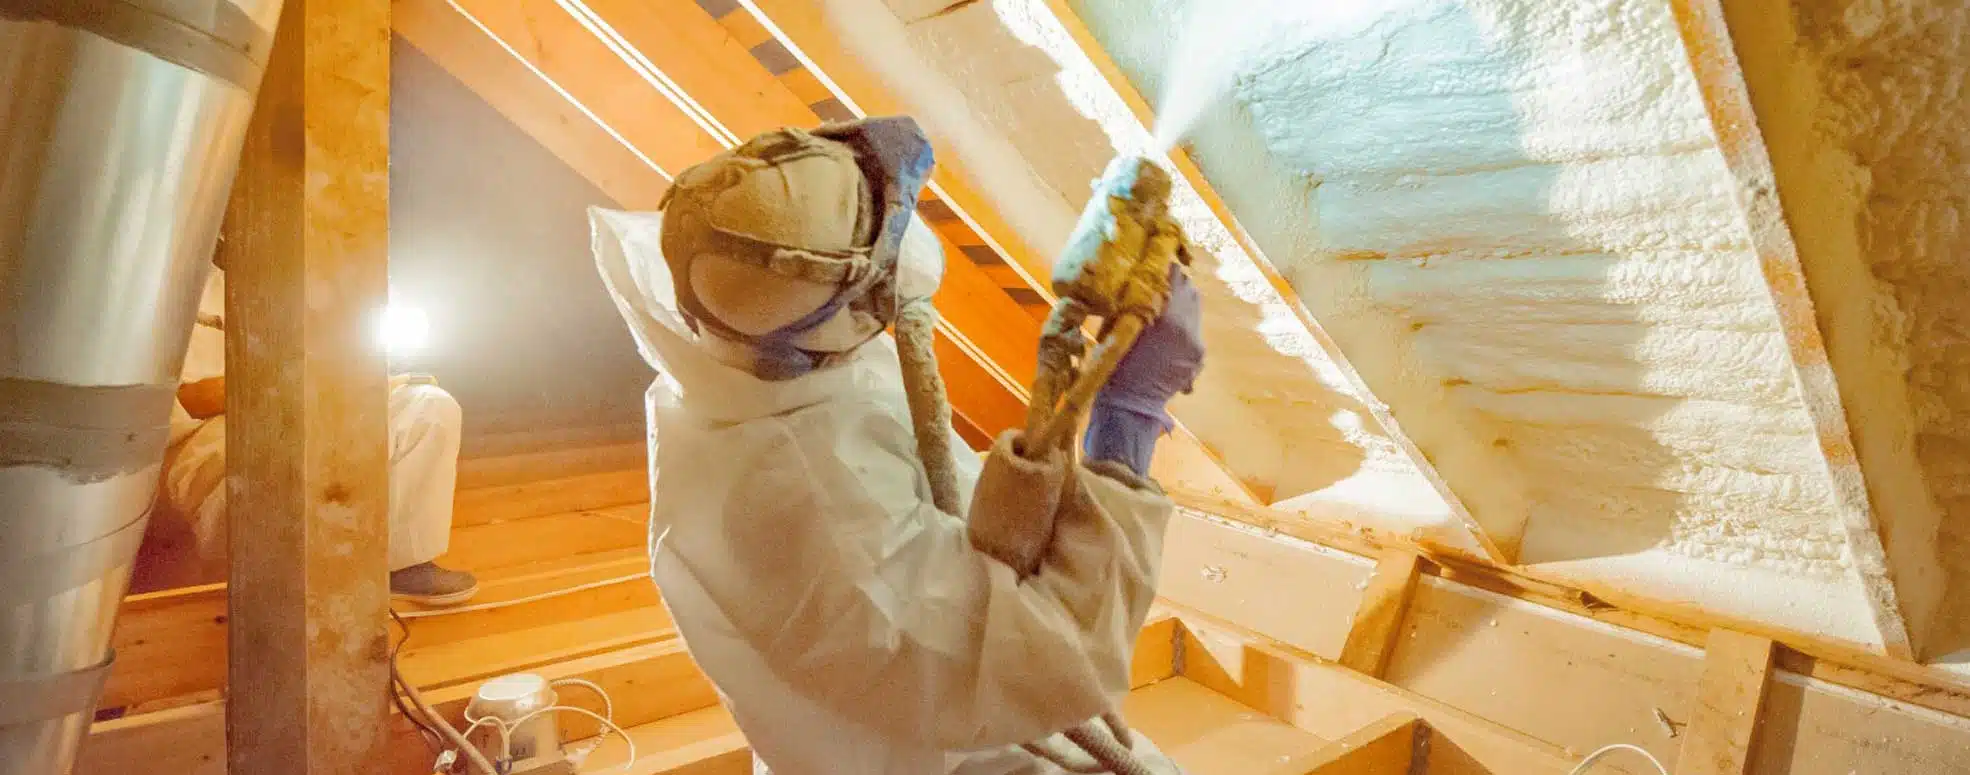
3. Application of Spray Foam Insulation
This is the core phase of the installation process, where the spray foam is applied to the designated areas. The application process requires skill and precision to ensure optimal coverage and performance.
What to Expect:
- Equipment Setup: The installation team will set up the necessary equipment, including spray foam rigs, hoses, and safety gear. The foam is mixed on-site and then pumped through hoses to the application area.
- Application Process: The technicians will spray the foam into the walls, ceilings, or other areas. As the foam is applied, it expands rapidly, filling gaps and creating a continuous insulating barrier. The application process may take several hours, depending on the size and complexity of the project.
- Monitoring: The technicians will continuously monitor the thickness and consistency of the foam to ensure it meets the required R-value and provides an even layer of insulation. This may involve applying multiple layers in some areas to achieve the desired insulation level.
During this stage, it’s important to trust the expertise of the installation team, as proper application is crucial for the insulation’s effectiveness.
4. Curing and Ventilation
Once the spray foam has been applied, it needs time to cure and fully expand. Proper curing is essential to achieve the maximum insulating benefits and to ensure the foam adheres correctly to the surfaces.
What to Expect:
- Curing Time: Spray foam typically takes about 24 hours to cure, although this can vary depending on the product used and environmental conditions. During this time, it’s important to avoid disturbing the foam to prevent compromising its structure.
- Ventilation: Good ventilation is necessary during the curing
process to disperse any lingering fumes and ensure the foam sets properly. Your contractor will ensure the space remains well-ventilated, and you may be advised to stay out of the area until the foam has fully cured.
Proper curing is vital for the longevity and performance of your insulation. Once the foam has been set, it will create a durable, airtight seal that enhances energy efficiency and indoor comfort.
5. Trimming and Cleanup
After the spray foam has healed, the installation team will perform a final round of trimming and cleanup to ensure the area is neat and that the insulation fits perfectly within the space.
What to Expect:
- Trimming Excess Foam: Once cured, any excess foam that has expanded beyond the desired area will be trimmed back. This ensures that the insulation sits flush with walls, studs, or other structural elements.
- Inspecting the Installation: The contractor will inspect the foam to ensure it has fully expanded and adhered correctly. This inspection also checks for any gaps or voids that may need additional attention.
- Cleanup: The team will remove all protective coverings, dispose of any waste materials, and clean the work area. The goal is to leave the site as clean as it was before the installation began.
Trimming and cleanup are essential steps that contribute to the final appearance and effectiveness of the insulation, ensuring that no areas are missed and that everything looks professional.
6. Final Inspection and Quality Check
After the installation and cleanup, a final inspection is conducted to ensure that everything has been done according to plan and meets the highest standards of quality.
What to Expect:
- Detailed Inspection: The contractor will perform a thorough inspection of the insulated areas, checking for consistency, coverage, and overall quality. They will verify that the foam has been applied evenly and that it meets the specified R-value.
- Client Walkthrough: You may be invited to do a walkthrough with the contractor to review the work and address any questions or concerns you might have. This is your opportunity to ensure that the installation meets your expectations.
- Documentation: The contractor may provide documentation that includes details about the product used, the R-value achieved, and any warranty information. This paperwork is important for your records and any future reference.
This final step is crucial for your peace of mind, as it confirms that the job has been done correctly and that your home or business is now properly insulated.
Preparing for Your Spray Foam Insulation Installation
Now that you understand the steps involved in the spray foam insulation installation process, here are some tips on how you can prepare to ensure a smooth and efficient experience:
1. Clear the Area: Before the installation team arrives, make sure the area to be insulated is free of obstacles. Move any furniture, personal belongings, or equipment out of the way. If you’re insulating an attic or crawl space, clear out any stored items.
2. Plan for Ventilation: Since spray foam installation involves chemical fumes, you should plan to vacate the premises during the application and curing process, particularly if you have young children, pets, or individuals with respiratory sensitivities.
3. Communicate with Your Contractor: Keep an open line of communication with your contractor. Discuss the timeline, and any specific concerns you have, and make sure you understand the process. The more you know, the better you can prepare.
4. Consider Temporary Accommodations: Depending on the scope of the project and the areas being insulated, you might need to find temporary accommodations while the work is being done. This is particularly important if you’re insulating a large part of your home.
5. Understand the Timeline: Ask your contractor for a detailed timeline, including start and end times for each phase of the installation. This will help you plan your activities around the work being done.
Benefits of Professional Spray Foam Insulation Installation
Hiring a professional contractor for your spray foam insulation installation offers numerous benefits:
1. Expertise and Experience: Professional contractors have the experience and knowledge to ensure that the foam is applied correctly and efficiently, maximizing its insulating properties.
2. Safety: Spray foam installation involves handling chemicals and specialized equipment. Professionals are trained to manage these safely, minimizing the risk of accidents or exposure to harmful fumes.
3. Quality Assurance: With a professional installation, you can be confident that the job will be done right the first time. Professionals follow industry standards and best practices, ensuring that the insulation provides the maximum benefits.
4. Warranty and Support: Reputable contractors offer warranties on their work, giving you peace of mind. If any issues arise after the installation, they will be addressed promptly and professionally.
5. Long-Term Savings: Although professional installation may come with a higher upfront cost, the long-term energy savings and the durability of the insulation will more than compensate for the initial investment.
Ready to Enhance Your Home’s Energy Efficiency?
Understanding what to expect during spray foam insulation installation can help you feel more confident and prepared for the process. From the initial consultation to the final inspection, each step is designed to ensure that your home or business is well-insulated, energy-efficient, and comfortable.
If you’re ready to move forward with spray foam insulation or have any questions about the process, our team at Spray Foam Genius Marketing is here to help. We specialize in connecting homeowners and businesses with top-notch spray foam insulation contractors who deliver quality results.Call us at 877-840-FOAM for USA and 844-741-FOAM for Canada visit our website at sprayfoamgeniusmarketing.com, or email us at [email protected] to get started.
Let us help you make your property more energy-efficient and comfortable with expert spray foam insulation installation.

- 5 Google My Business Hacks to Double Your Leads for Spray Foam Insulation Contractors - January 14, 2025
- Why Spray Foam Contractors Cannot Ignore Reputation Management in 2025 - January 13, 2025
- Local SEO Secrets Every Spray Foam Contractor Must Know to Win in 2025 - January 13, 2025